


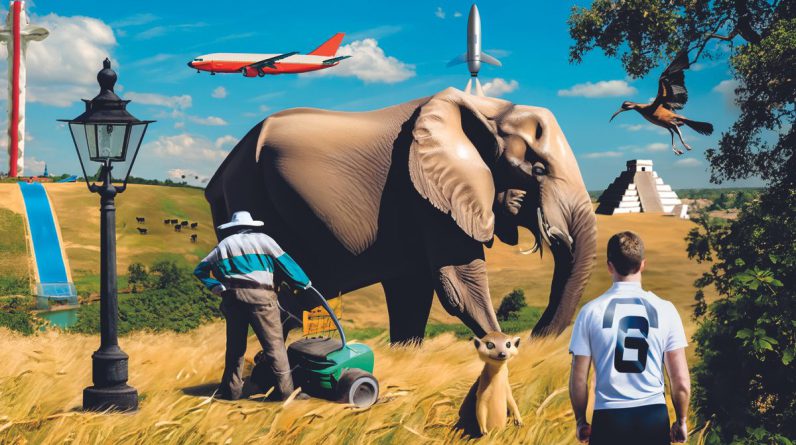
Photoshop 24 is the first version of the app to include all AI tools out of beta and you should definitely take advantage of them. From expanding, adding, removing or selecting, Photoshop removes all the time-sapping tasks involved in image editing and let you spend more time on realising your end goal. This tutorial gives a brief run down of the key AI tools and explains how to get the most out of them.
From Generative Expand to Generative Fill and subject Select Subject and Lens Blur Filter, there’s a lot to enhance your workflow here. See our Photoshop review for more on what we think, and our wider set of Photoshop tutorials.
Generative Expand
01. Select Crop tool
(Image: © Image Generated with Abobe Firefly)
Open your image in Photoshop. Select the crop tool in the Tool Bar (or press C) and switch to Generative Expand from the dropdown box in the Task Bar. If you have the Contextual Bar open, then the same option will pop up on the canvas.
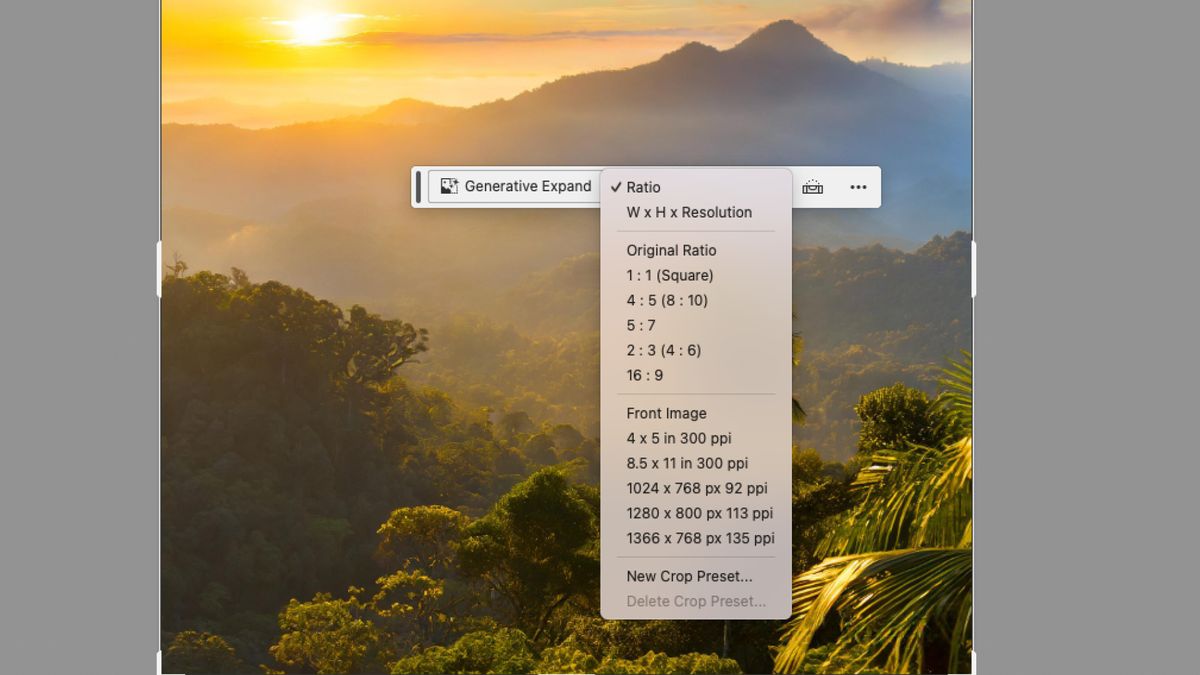
02. Designate a crop ratio
(Image: © Image Generated with Abobe Firefly)
Select the type of crop proportions you want from the list of examples or create a new Crop Preset of your own.
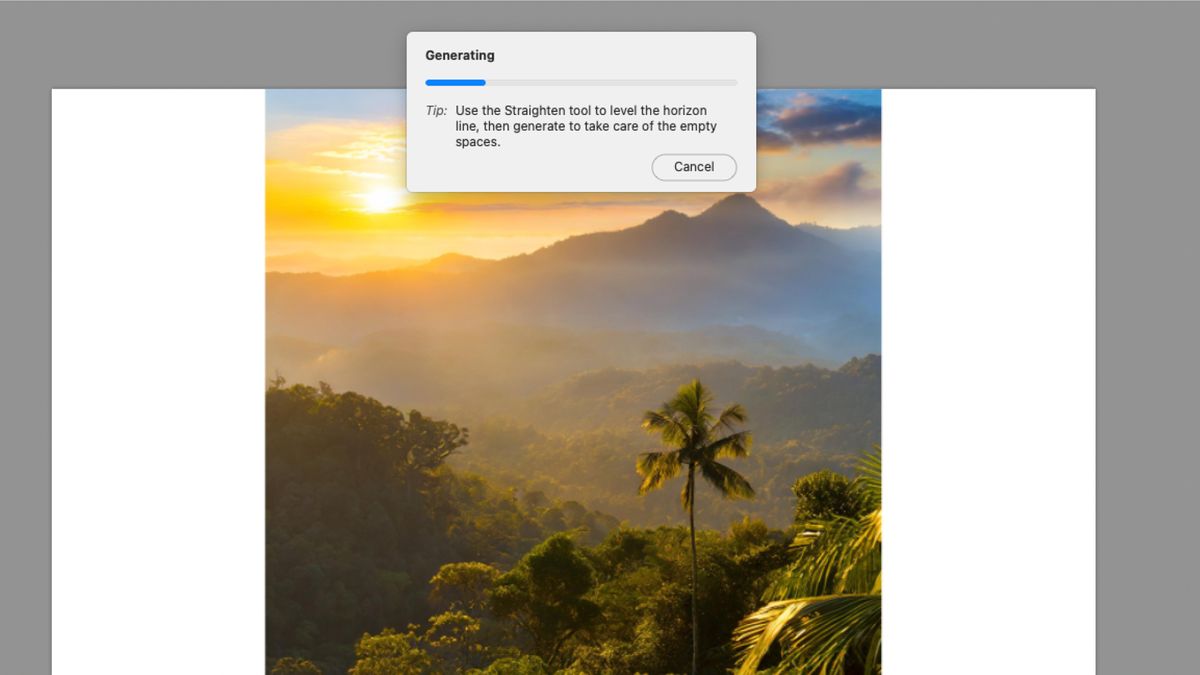
03. Expand image
(Image: © Image Generated with Abobe Firefly)
Drag the crop handles out to fill your new required size. Holding the alt button will drag both sides out equally. When you are happy with the new crop, press enter.
04. Pick a final image

(Image: © Image Generated with Abobe Firefly)
Generative Expand will provide you with three options every time you press the button. Cycle through these and select the one that fits your image best. Some results can be underwhelming, so be sure to rate the results and improve the engine.
Generative Fill
01. Contextual Task Bar
(Image: © Image Generated with Abobe Firefly)
Turn the Contextual Bar on in Window > Contextual Task Bar. It will automatically pop up under the selected object, however you can drag it around the canvas and pin it into position using the extra options (although this resets every time you open a new document).
02. Make area selection
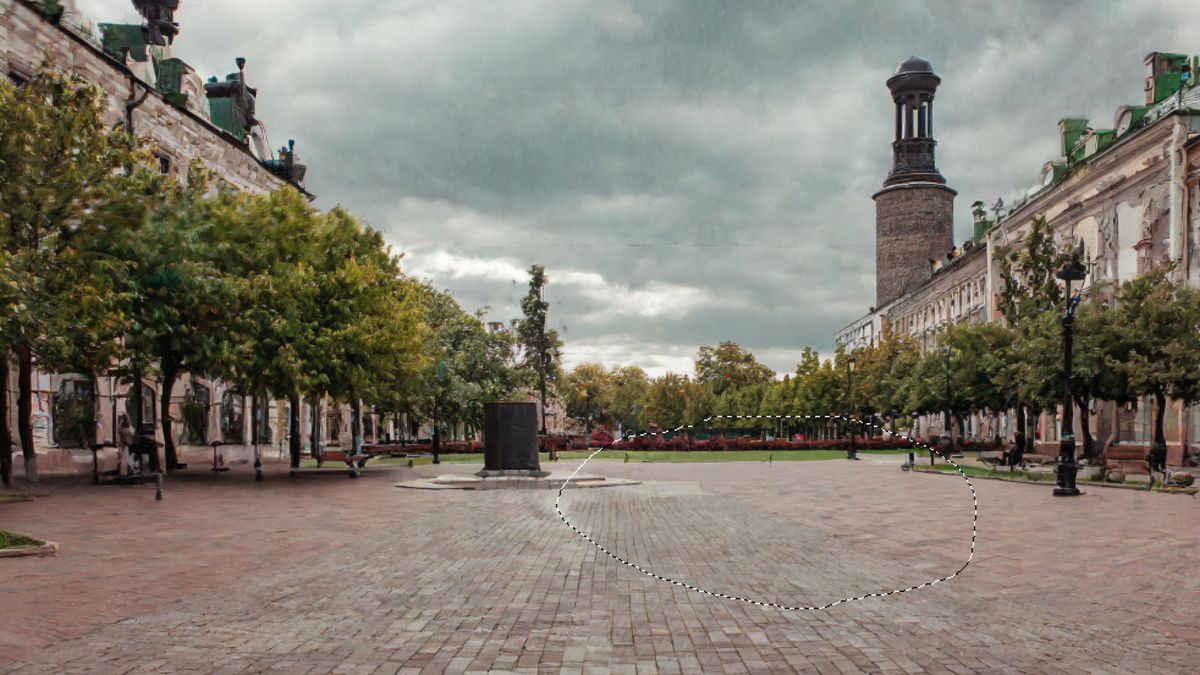
(Image: © Image Generated with Abobe Firefly)
Select the area you want to affect with whatever tool you prefer – Lasso, Pen or marquee. The generative tools are pretty forgiving, so for ease of use I used the lasso tool to quickly draw a rough area. If you don’t draw any area then the whole image will be affected.
03. Type prompts

(Image: © Image Generated with Abobe Firefly)
Type your instructions or descriptions of the scene you want to create into the Contextual text bar and click Generate. Photoshop will then use Firefly to create an appropriate image to fill that space, fitting into the pre-existing background.
If you leave the text bar empty then Photoshop will intuitively remove the object you have selected, filling the background as Content Aware Fill might have done in previous iterations, but with much more success. You can also use the Remove Tool in the Toolbar for this. Simply select the tool, draw a rough outline around the object and it will be removed.
04. Select a result
(Image: © Image Generated with Abobe Firefly)
Each Generate click will produce three new results of differing quality and applicability. Cycle through the results and pick the one that suits your image. If none of them work well then you can refine the process with more instructions and prompts. Rate the results as you go.
Select Subject
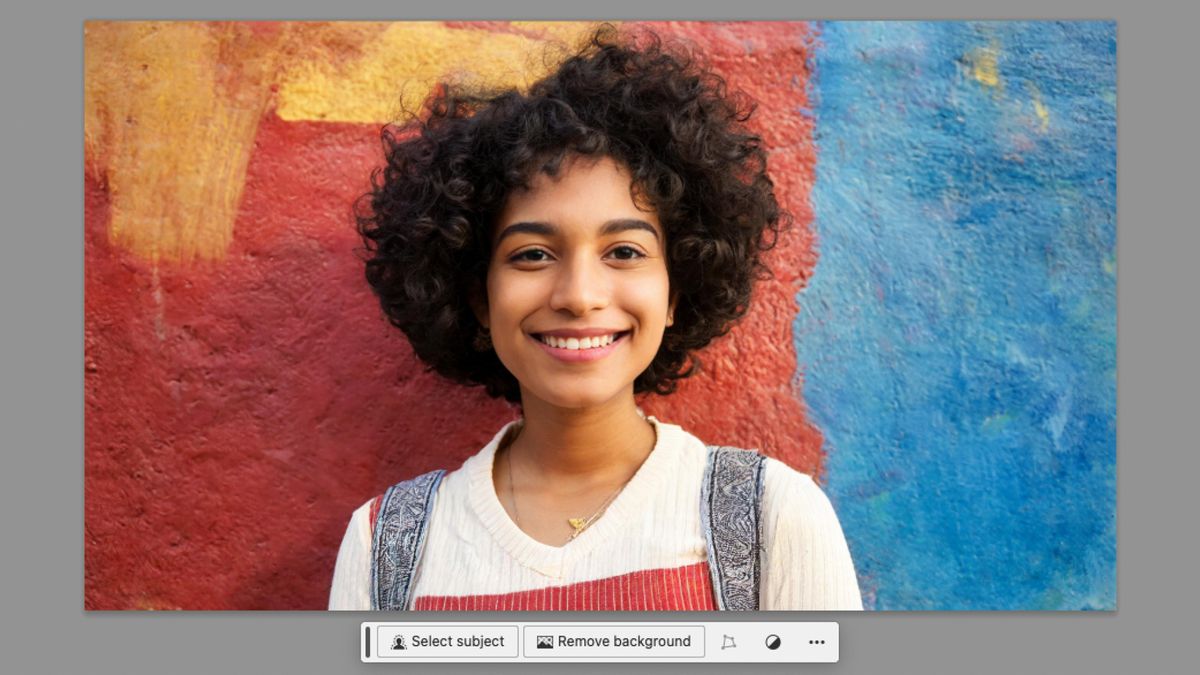
01. Open image
(Image: © Image Generated with Abobe Firefly)
Open an image in Photoshop and the Contextual Task Bar will pop up. This tool is most effective with an obvious target object, such as a person or a car. Where the Select and Mask tool might have struggled with frizzy hair, this new Select Subject copes admirably.
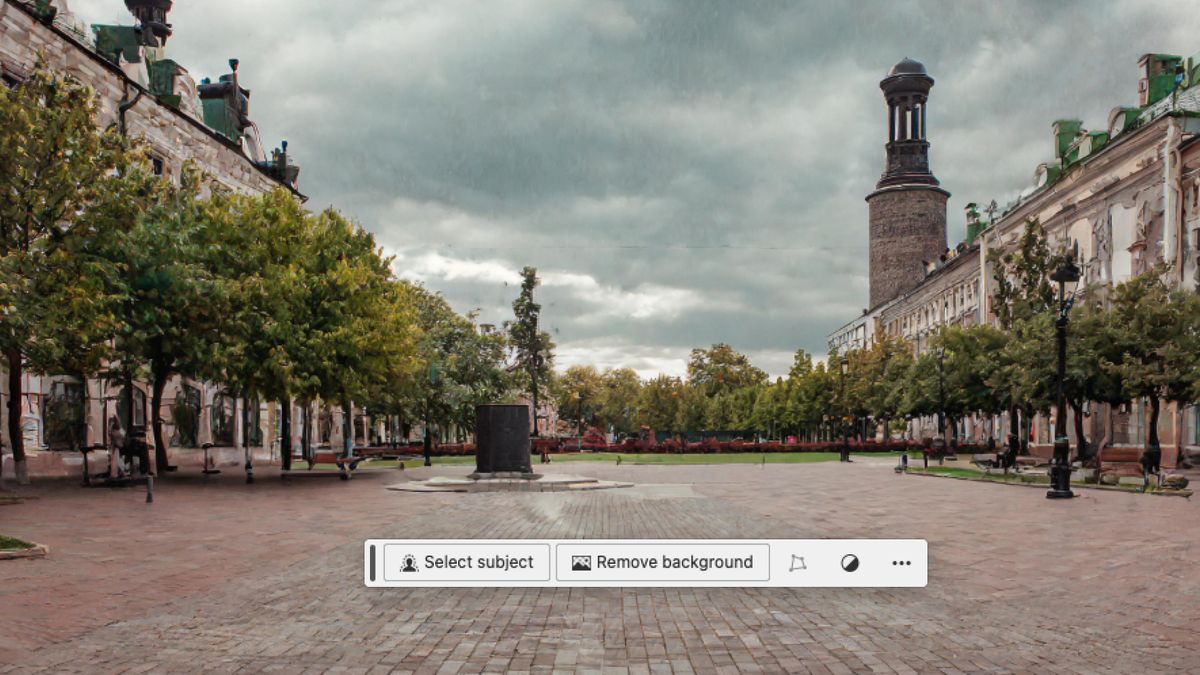
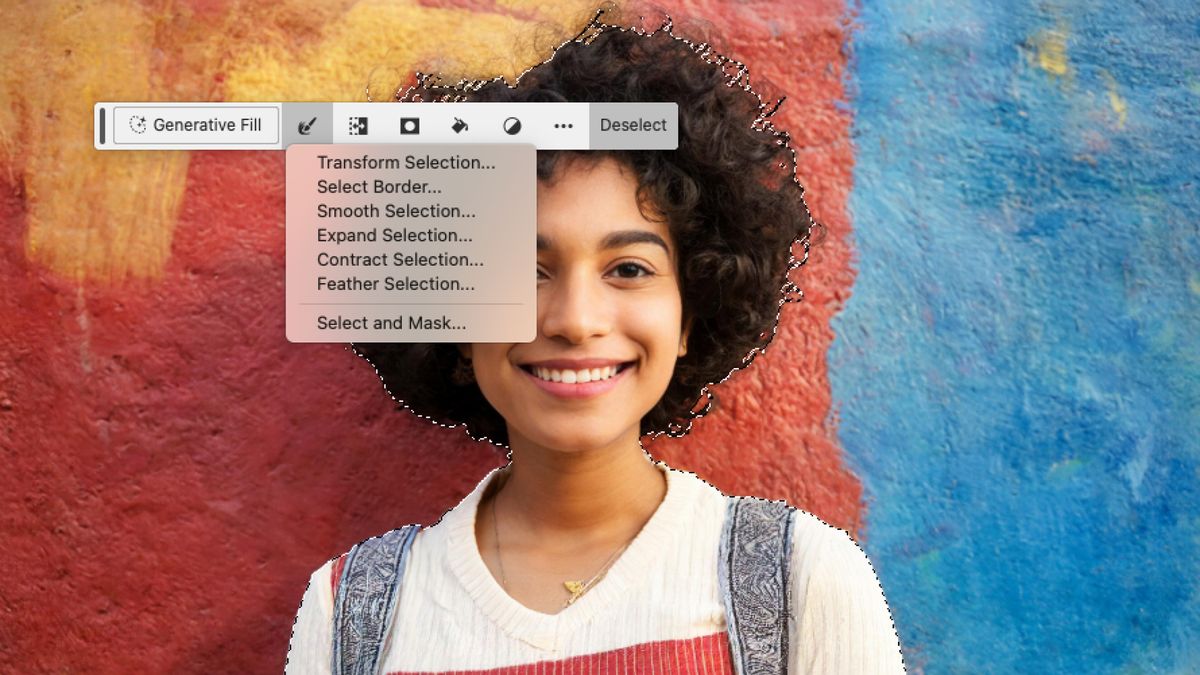
02. Select subject
(Image: © Image Generated with Abobe Firefly)
Press the Select Subject button in the Contextual Task Bar. This will automatically select your subject. You can use the Modify button to adjust your selection, such as feathering or expanding it.
Use the selection to mask out the background or duplicate the selection onto a new layer. Alternatively you can press Remove Background instead of Select Subject and you will achieve the same result.
03. Clean up the image

(Image: © Image Generated with Abobe Firefly)
The selection isn’t always perfect and you can end up with some ragged edges, so if you want to use this image at a high resolution, it can be beneficial to go in close and clean up the image. Finally save the image as a psd or another file type with transparency.
Lens Blur Filter
01. Apply filter
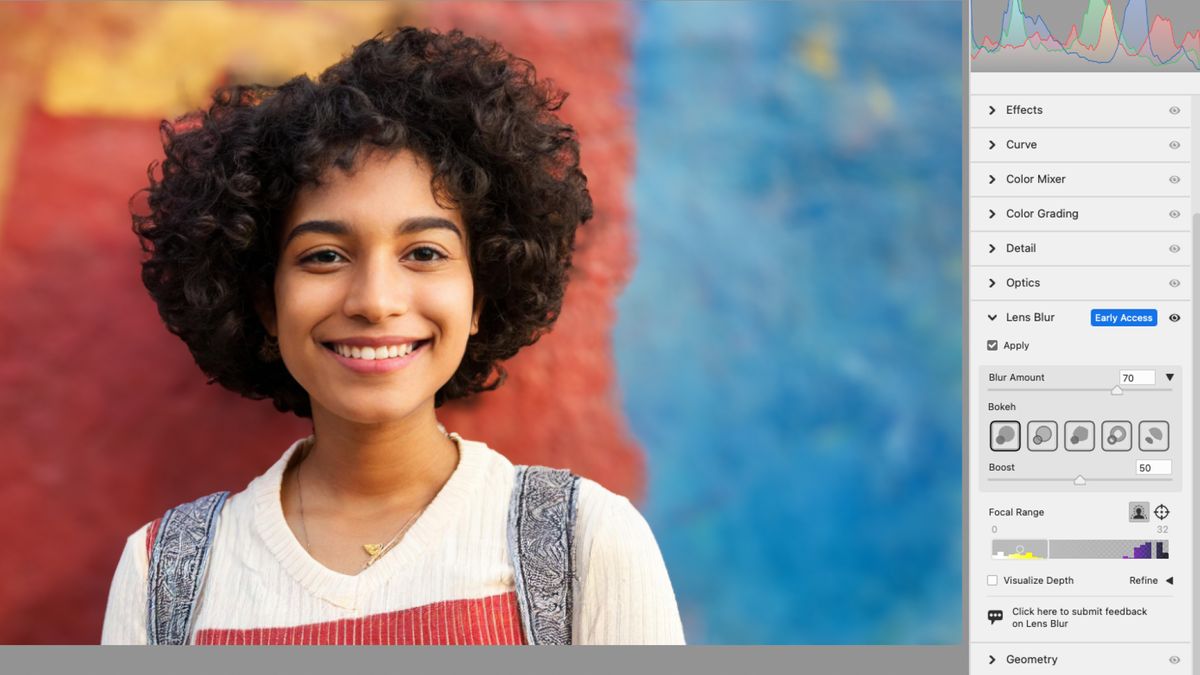
(Image: © Image Generated with Abobe Firefly)
Access the filter through Filter > Camera RAW Filter. A window will pop up with the Lens Blur option and controls down the side of your image. To start the process, tick the box saying Apply.
02. Adjust the blur
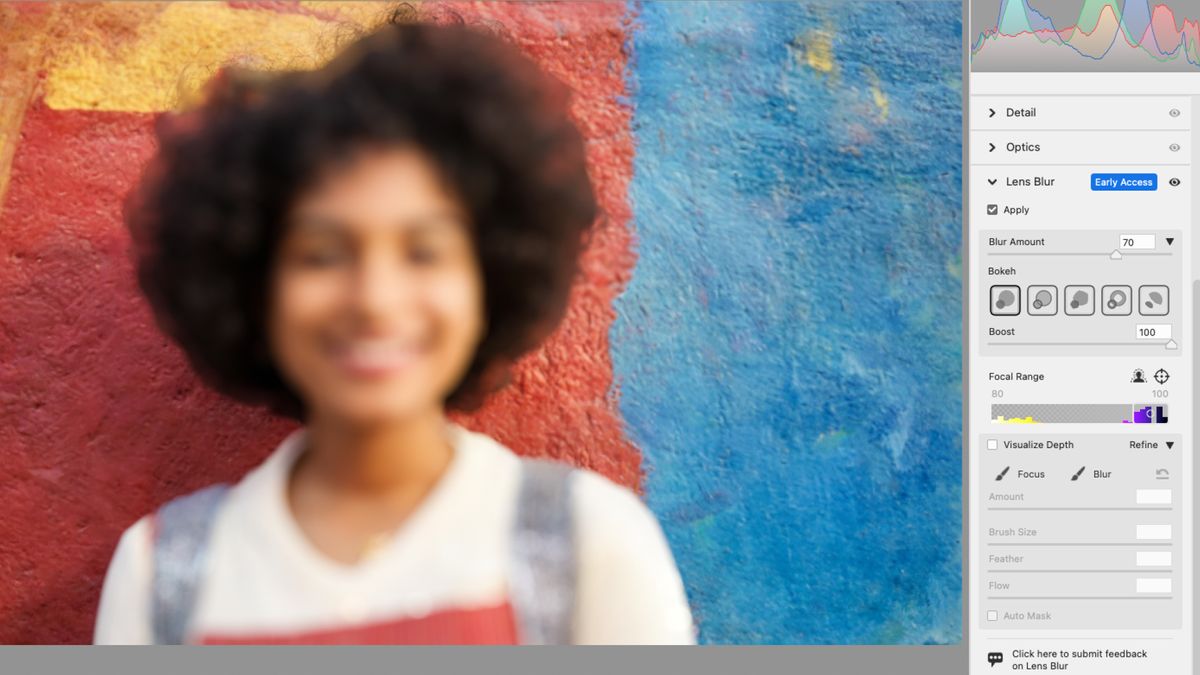
(Image: © Image Generated with Abobe Firefly)
In the controls you can alter the amount of blur and change the type of Bokeh (the shape of the aperture).
03. Focal range
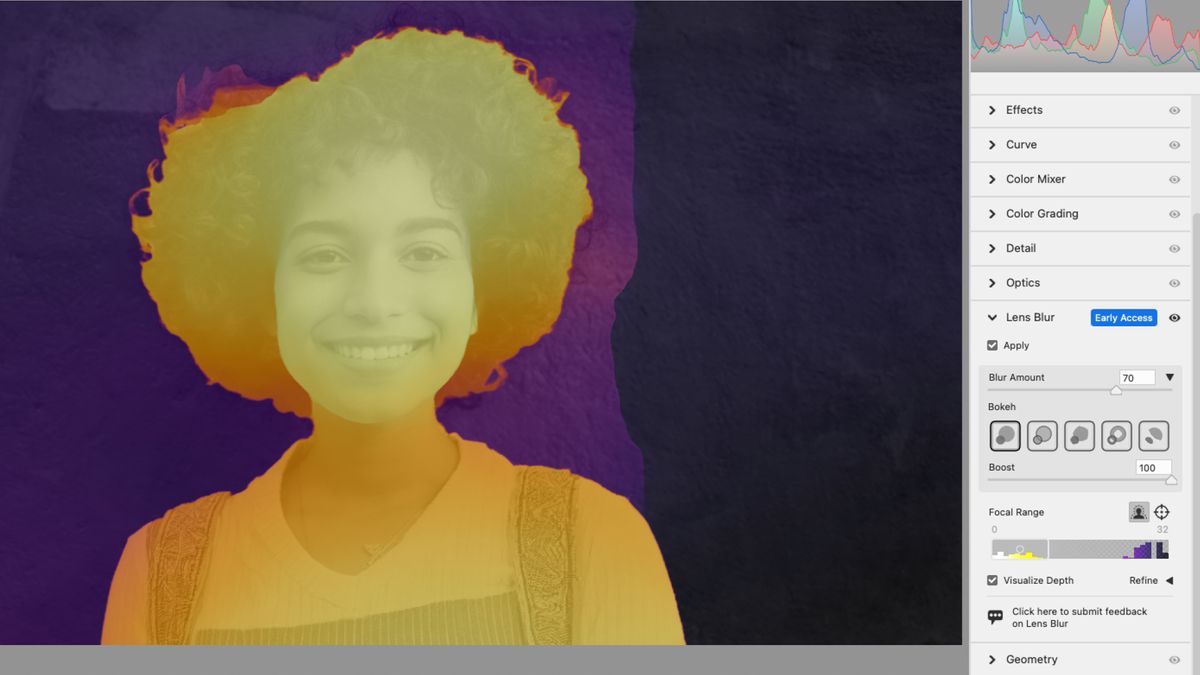
(Image: © Image Generated with Abobe Firefly)
The focal range gives you a detailed depth map, corresponding to colour temperatures. You can target different parts of the image to change the focus point as well as manually brushing parts of the sharp image out.